About Forest Schools
Forest School is a child-centred learning process that offers opportunities for holistic growth through regular play and explore sessions outdoors in the countryside. It’s a long-term programme that supports play, exploration and supported risk taking. It develops confidence and self-esteem through learner inspired, hands-on experiences in a natural setting.
Its roots reach back to the open-air culture, friluftsliv or free air life, seen as a way of life in Scandinavia which is where Forest Schools began. The ethos has been adopted by trained practitioners around the world who constantly adapt their learning styles and skills to support new learners. It arrived in the UK in 1993 and has grown from strength to strength.
The movement is well known for encouraging knowledge and awareness of the natural world around us. But it also helps learners develop socially, emotionally, spiritually, physically and intellectually. It creates a safe, non-judgemental and nurturing environment for learners to try stuff out and take risks. The approach to risk is that it is more than just the potential for physical harm: it is a more holistic thing. There are risks in everything we do, and we grow by overcoming them. Children who attend are encouraged to grow up to become healthy, resilient, creative and independent learners.
Visit www.forestschoolassociation.org
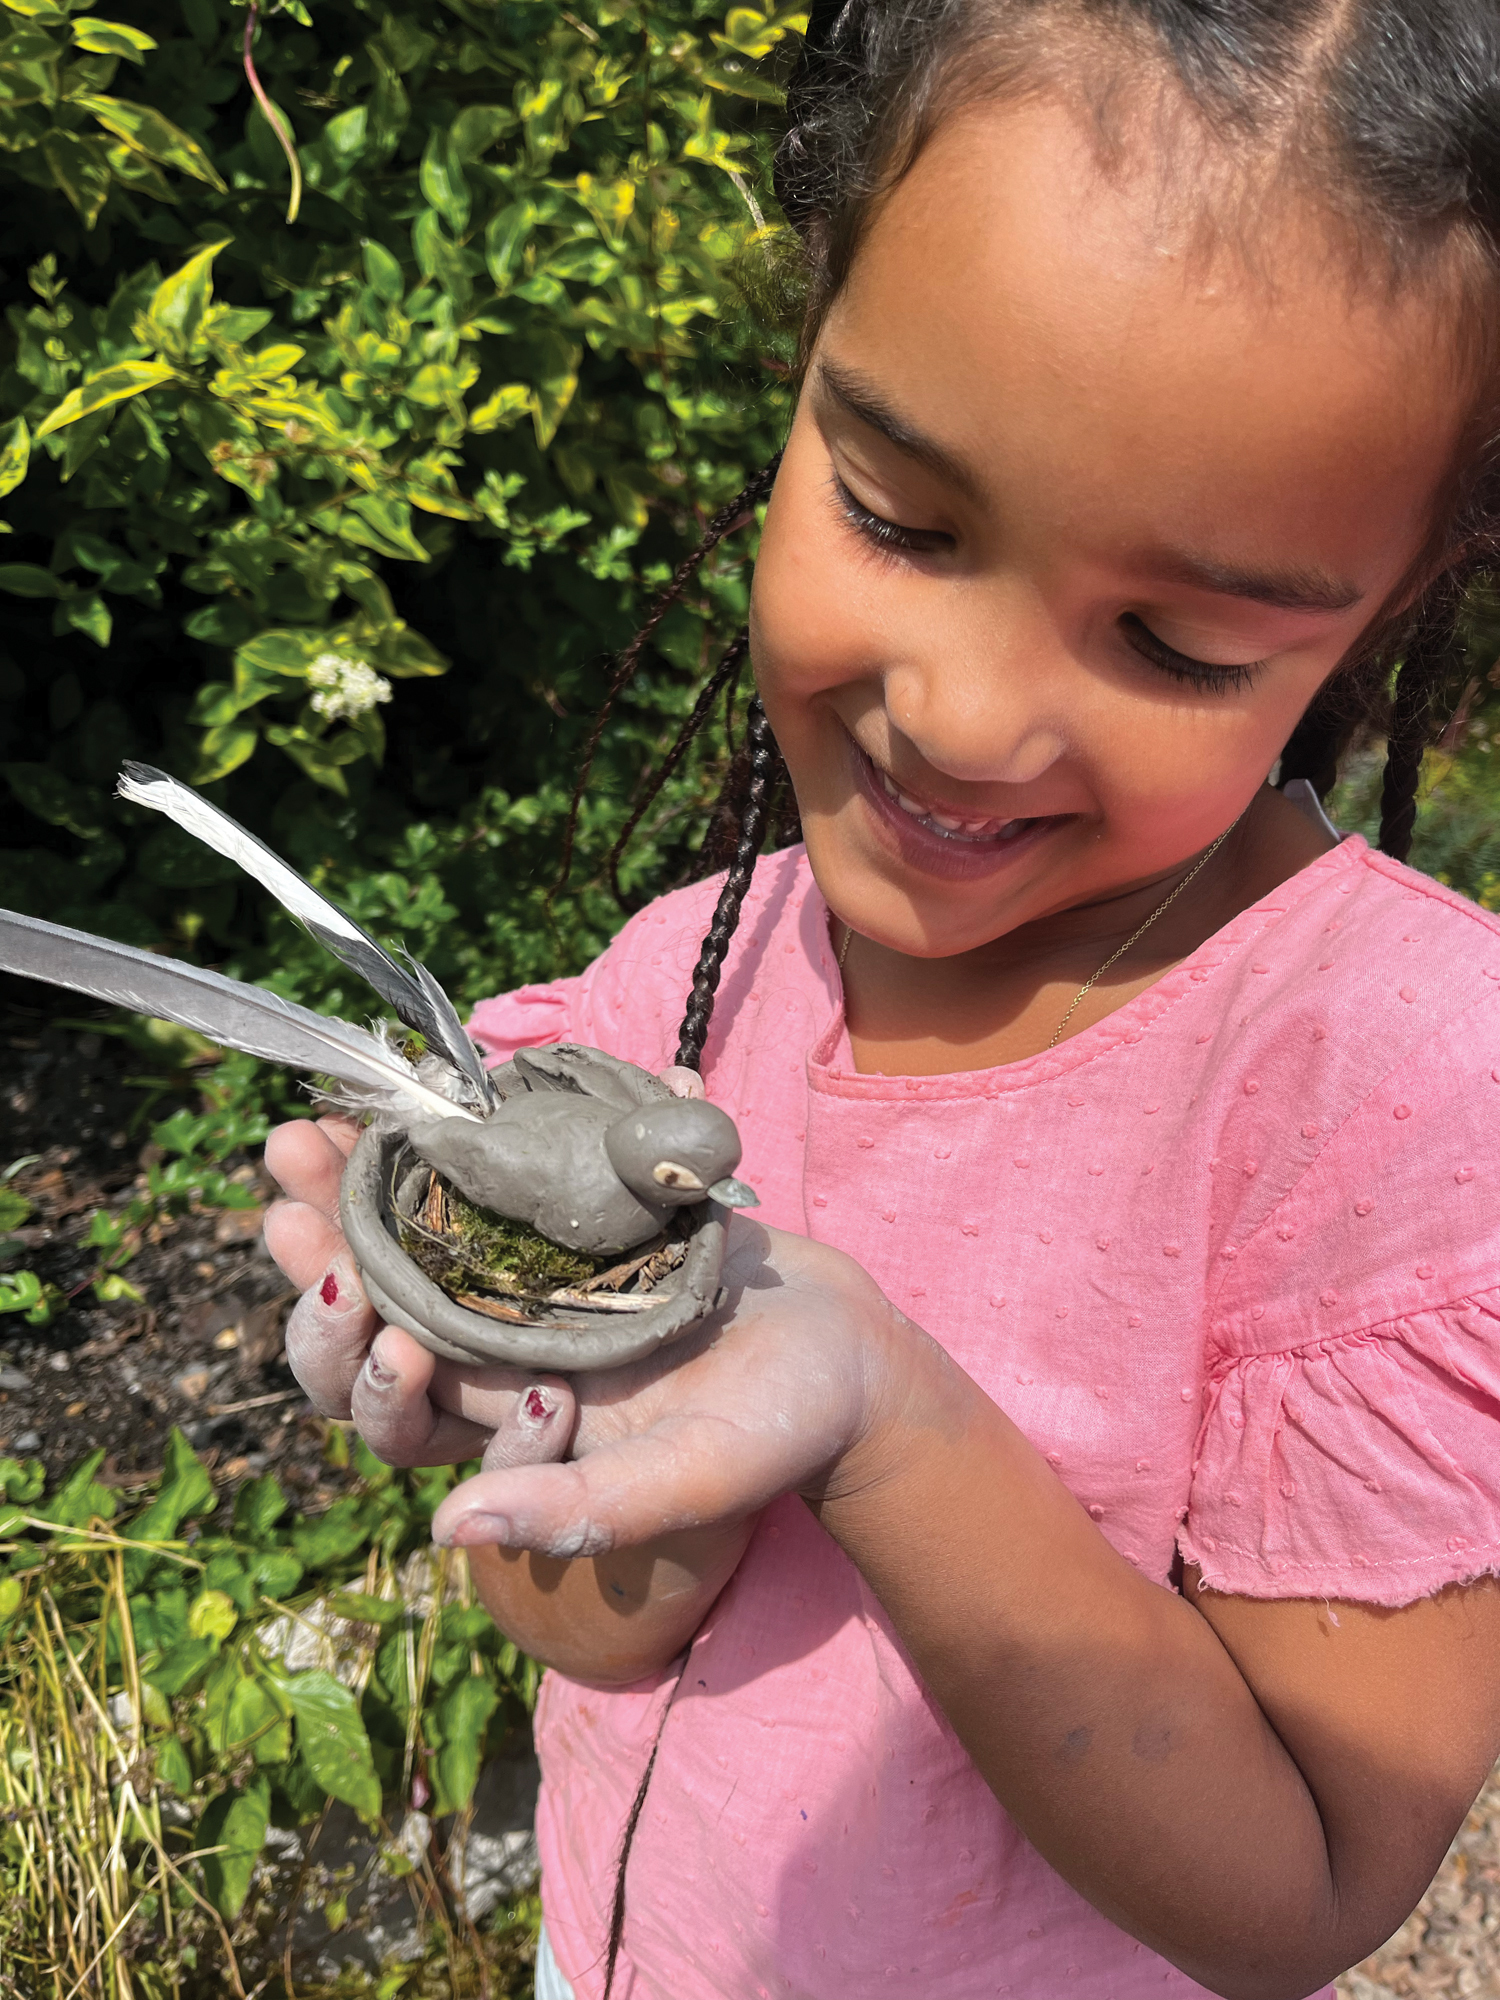
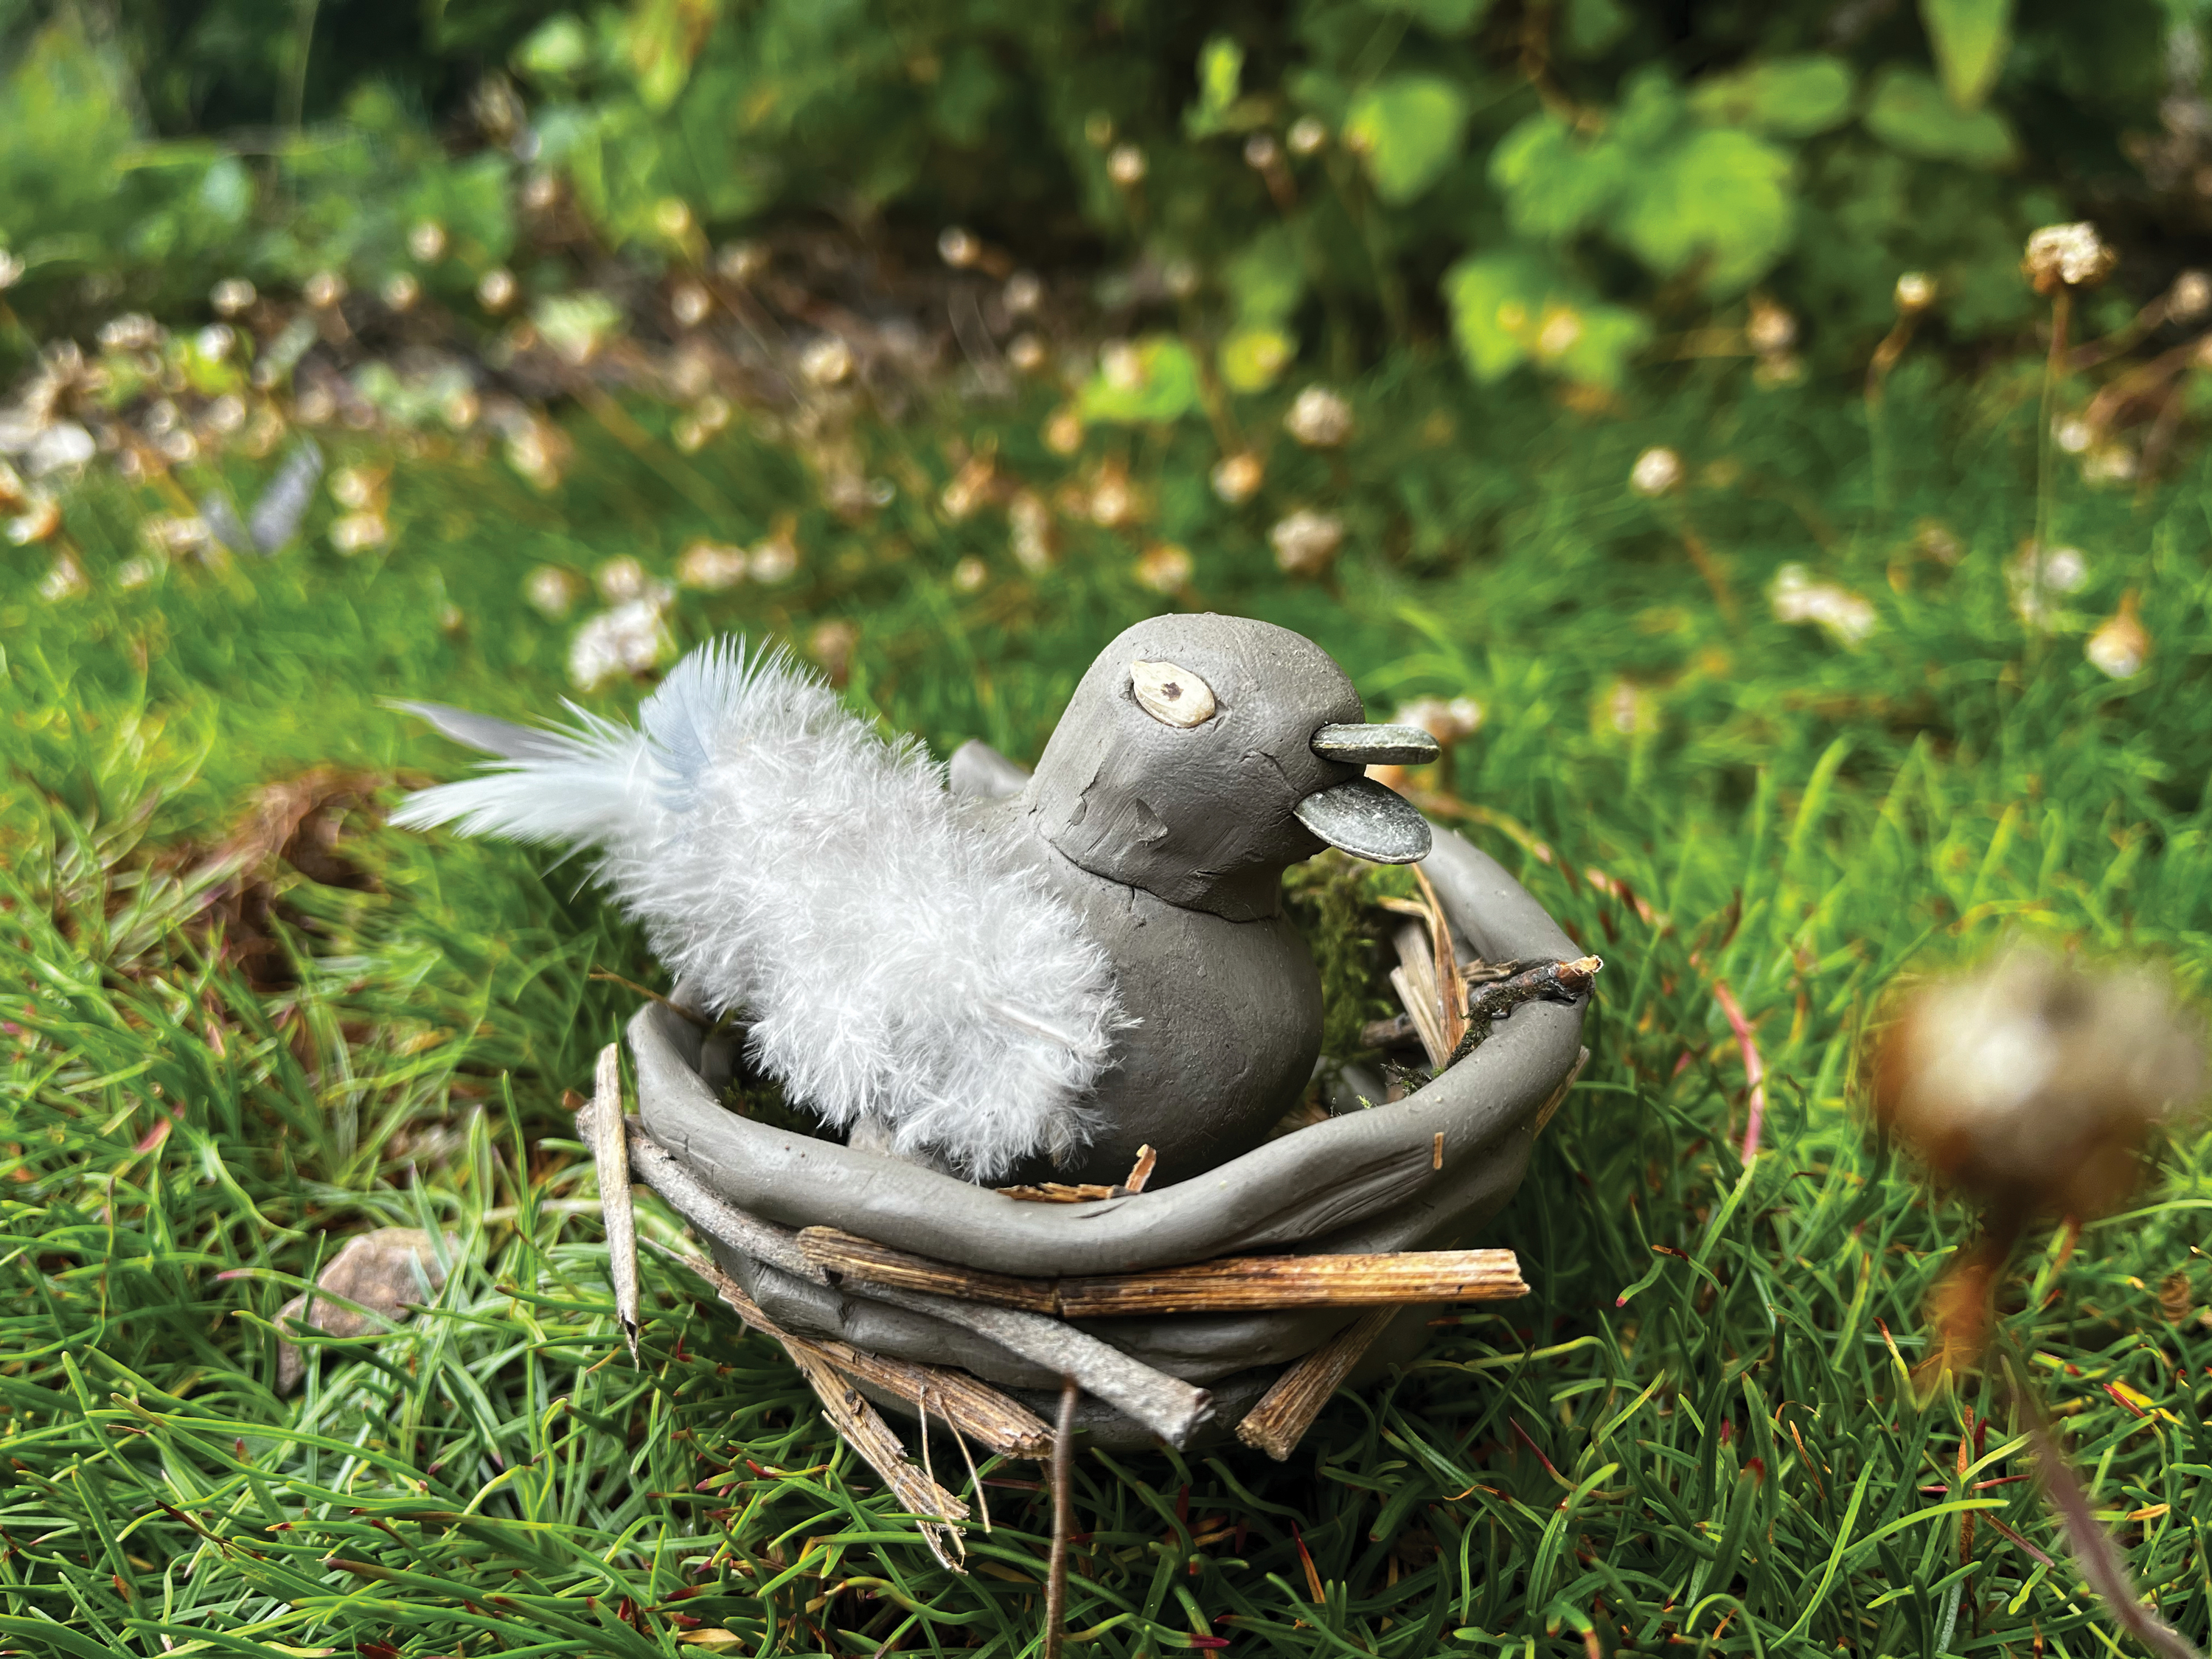
CLAY BIRD IN A NEST
You will need
• Air dry clay
• Acrylic paints
• Pumpkin seeds
• Sunflower seeds
• Pot of water
• Toothpick or knife (for cutting out shapes)
• Feathers (use craft feathers or forage for them in nature)
Step 1
Make the nest first. Roll a ball of clay out in your hands about the size of a marble. Once it’s nice and round, squash it to make it flatter (not too flat). This will be the base of your nest.
Step 2
Roll out six to seven ‘worms’ of clay about 6in (15cm) long. Dip your finger in a pot of water and run it around the edge of the base. Now place the first coil on top and press down gently to secure it. Repeat this process (including the water dabbing) until you have used up all your worms. You should have a lovely nest shape by now.
Step 3
Now for the bird. Be mindful that the bird needs to fit inside the
nest so these sizes are just a guideline. You need two balls of clay:
one for its head, about the size of a marble, and one for the body, the
size of a golf ball. To make the body a bit more bird-shaped, roll it in
your hands gently, bringing one end into a point. Attach the bird’s
head to its body by dipping your finger into a pot of water and dabbing
it onto the body. Gently press the head into the body and smooth the
joins together.
Step 4
You will need two more small balls of clay for the wings. Flatten and cut into a wing shape using a toothpick or knife.
Attach these in the same way as you attached the body to the head.
Step 5
Press in two pumpkin seeds to make the beak and two sunflower seeds for the eyes. Gently poke the tail feathers into the back of the bird where the tail should go.
Step 6
Now bring the nest alive by pushing sticks, moss, grass, etc into it. You could even find some eggs (such as stones, seeds, nut shells etc). Wait for the bird and nest to dry (a minimum of 24 hours) before you place your bird in the nest.
About the book
100 Forest School Activities by Naomi and Dan Walmsley is published by Button Books, RRP £16.99, available online and from all good bookshops”.
Right Start Online reader offer
Button Books are pleased to offer Right Start readers an exclusive
offer. Go to the website below and use reader offer code R5609 to get 20
per cent off the usual RRP (£13.50 plus postage and packaging). Offer
ends August 1, 2024.
https://giftstome.co.uk/product/100-forest-school-activities/


